Players kept asking how to force the game to use a custom Ayano portrait. On the November 1, 2026 update, YandereDev clarified the toggle: open CustomPortrait.txt, change 0 to 1, and the build will read CustomPortrait.png as the protagonist portrait. The image itself already carried instructions; the text file is the switch people missed.
Content note: Keep custom art AdSense-safe and age-appropriate for a school setting. This hub does not host NSFW portrait packs.
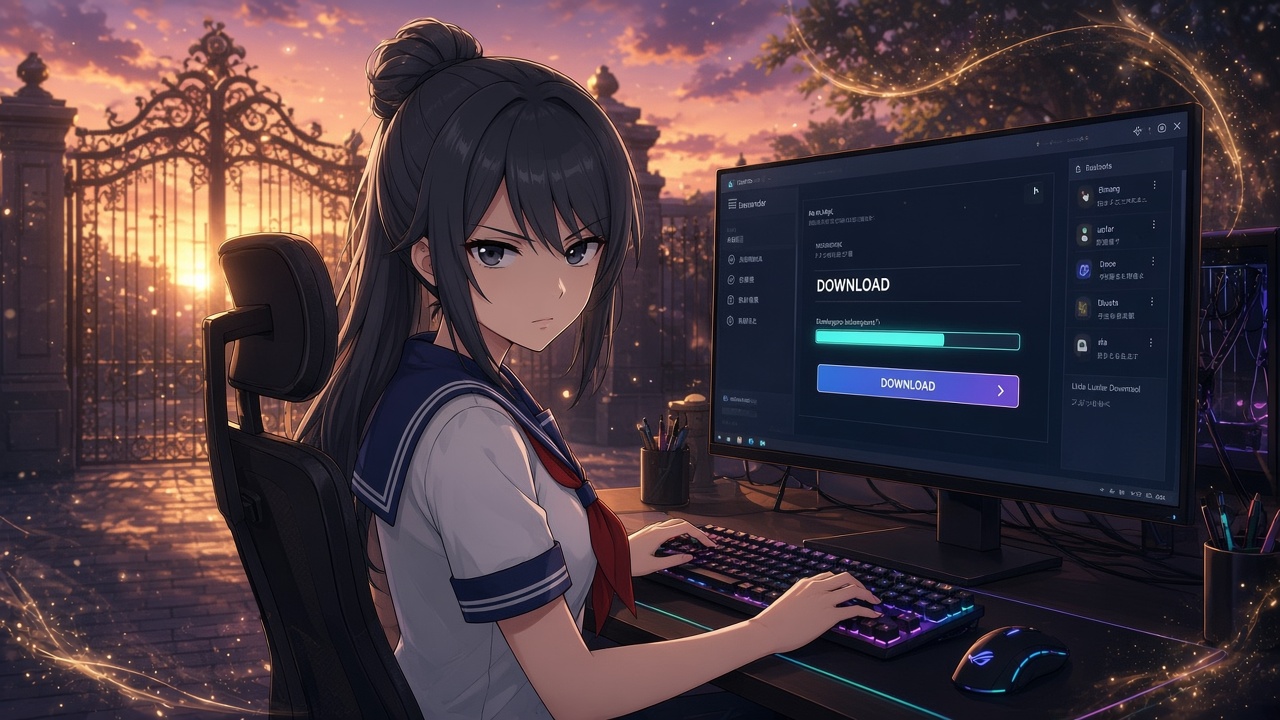
Install a current build from the Download page before you hunt for files from an old folder.
Where the files live
After a launcher or zip install, look in the game’s data / StreamingAssets-style folders for:
- CustomPortrait.png — the image the UI will pull once enabled
- CustomPortrait.txt — a tiny flag file; 0 = default portrait, 1 = use the PNG
Exact folder depth can shift between builds. Search the install directory for `CustomPortrait` rather than memorizing a three-year-old path from a forum post. If either file is missing, reinstall cleanly (launcher or fresh zip) and search again—mods that overwrite StreamingAssets often delete these placeholders.
Custom Mode creators who ship portrait packs should document the same toggle; see the Custom Mode guide for folder-share habits that sit next to this feature.
Enable steps (safe order)
- Quit the game completely. Editing the text while Unity holds the file open is how you get “nothing changed” sessions.
- Open CustomPortrait.txt in a plain editor (Notepad, VS Code). Avoid Word—it can inject smart quotes.
- Change the flag from 0 to 1. Save as UTF-8 / ANSI without a `.txt.txt` double extension.
- Confirm CustomPortrait.png is present, readable, and not zero bytes.
- Launch YS, start or load a save, and check the Student Info / pause portrait surfaces that show Ayano’s face.
If the default face remains, double-check you edited the copy inside the active install folder (players with both launcher and zip trees often edit the wrong one).
Portrait tips that actually matter
- Resolution & aspect: Match the stock CustomPortrait.png dimensions when possible so the HUD crop does not stretch her face.
- Transparency: Prefer opaque school-uniform busts. Half-transparent PNGs can composite oddly against UI panels.
- Content policy for this site: Daytime, clothed, non-sexualized. Do not package “loli” or fetish outfits as “custom portraits” next to ads.
- Back up your PNG before an update. Patchers can overwrite StreamingAssets; keep a copy outside the game folder.
This toggle is for the protagonist portrait, not a full Custom Mode character editor. Hair/eye authoring still lives in Custom Mode tools when you want a whole cast redesign.
Troubleshooting
| Symptom | Likely cause | Fix |
|---|---|---|
| Still default face | Flag still `0`, or wrong install tree | Re-open txt; confirm path next to the EXE you launch |
| Pink/missing texture | Corrupt PNG or unsupported format | Re-export PNG; replace file; keep dimensions close to stock |
| Works once, resets after update | Updater restored `0` or replaced PNG | Re-flip the flag; restore your PNG from backup |
| Crash on Student Info | Oversized or exotic PNG | Swap to a smaller, standard PNG; remove mods for a clean test |
When in doubt, verify against the November 1st Update notes on this hub. Builds after that post should match the 0→1 instructions printed on the image.
What this does not do
- It does not unlock Custom Mode by itself.
- It does not change Senpai, rivals, or student roster portraits.
- It does not bypass Reputation, Sanity, or scheme systems—you still need the beginner guide for actual play.
Flip the flag, confirm the face, then get back to schedule literacy. A custom portrait is cosmesis; Week 2 still expects you to manage witnesses.